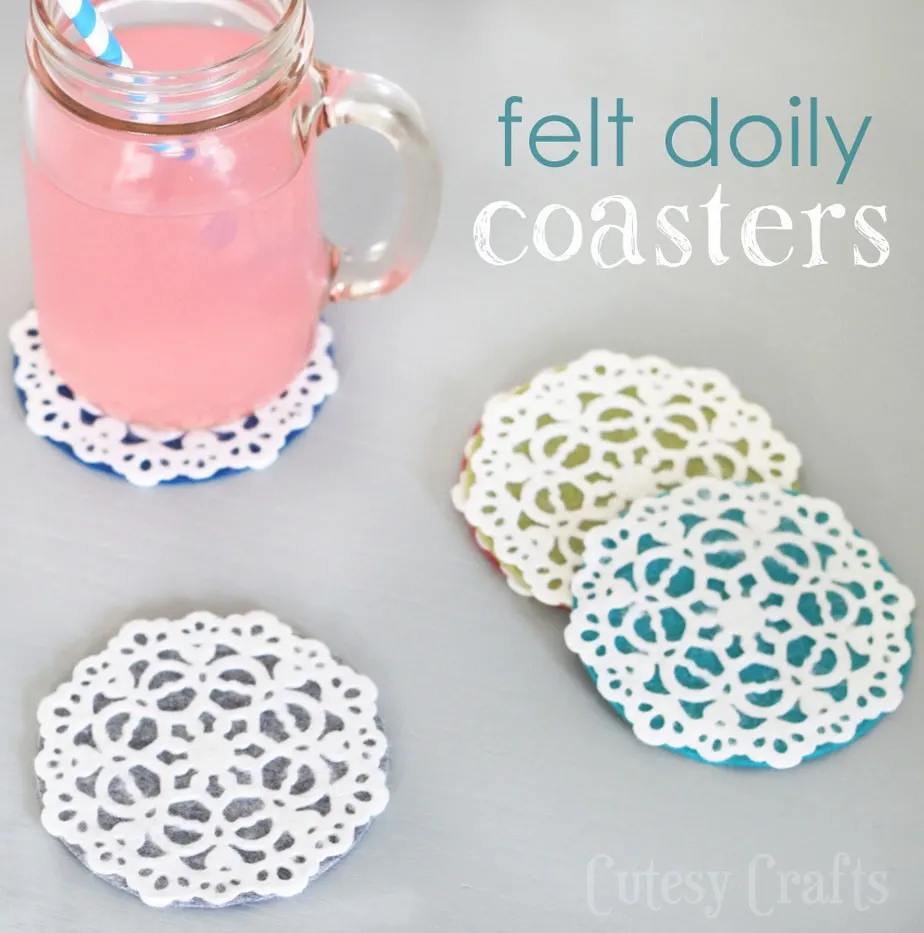
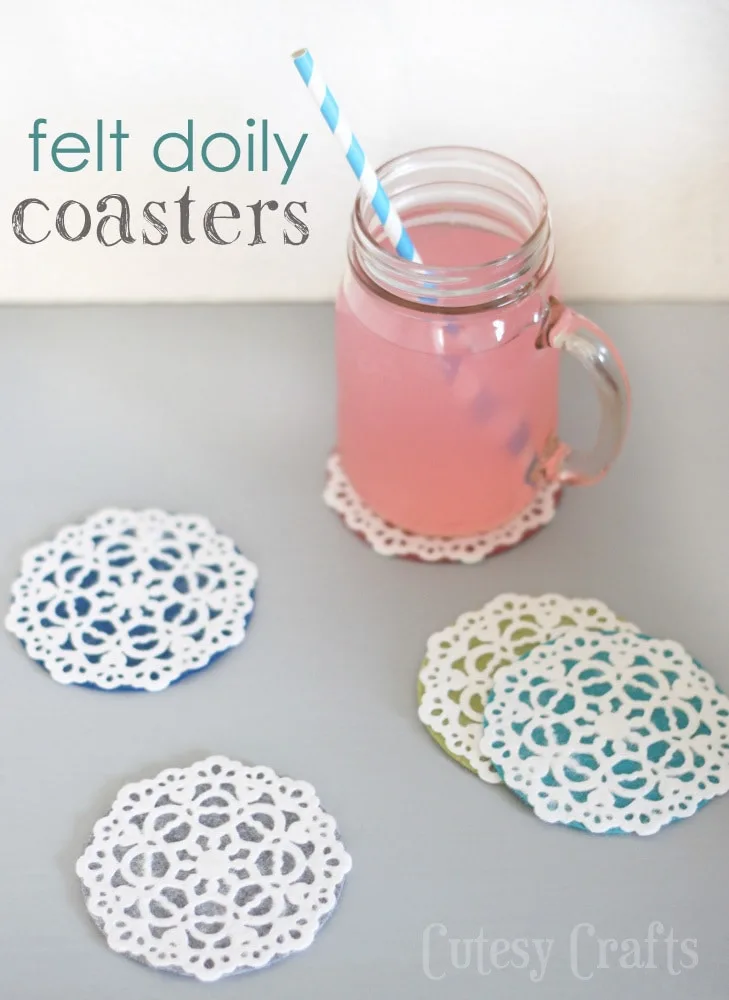
I’m loving lace right now! Don’t know if you’ve noticed, but it’s everywhere in the stores. I keep buying shirts with lace them… I might have like five already. Haha! So, you know I’m extra in love with these felt doily coasters that I just made. Felt AND a pretty lacey design?! YES!!! (Oh, and keep reading because I want to tell you about a giveaway at the bottom of this post.)
Don’t you love it when a project turns out exactly like you imagined? I want to drink things just so I have an excuse to use them.
This is my monthly post as a part of We R Memory Keepers’ Lifestyle Studios Teams, so I received free products. (Yes, I know I just posted last months’ project… procrastinate much?) All opinions are my own. You can use promo code CUTESY to get 20% of any We R Memory Keepers products at shopwer.com.
To make these felt coasters, I used:
– felt (wool or a wool blend)
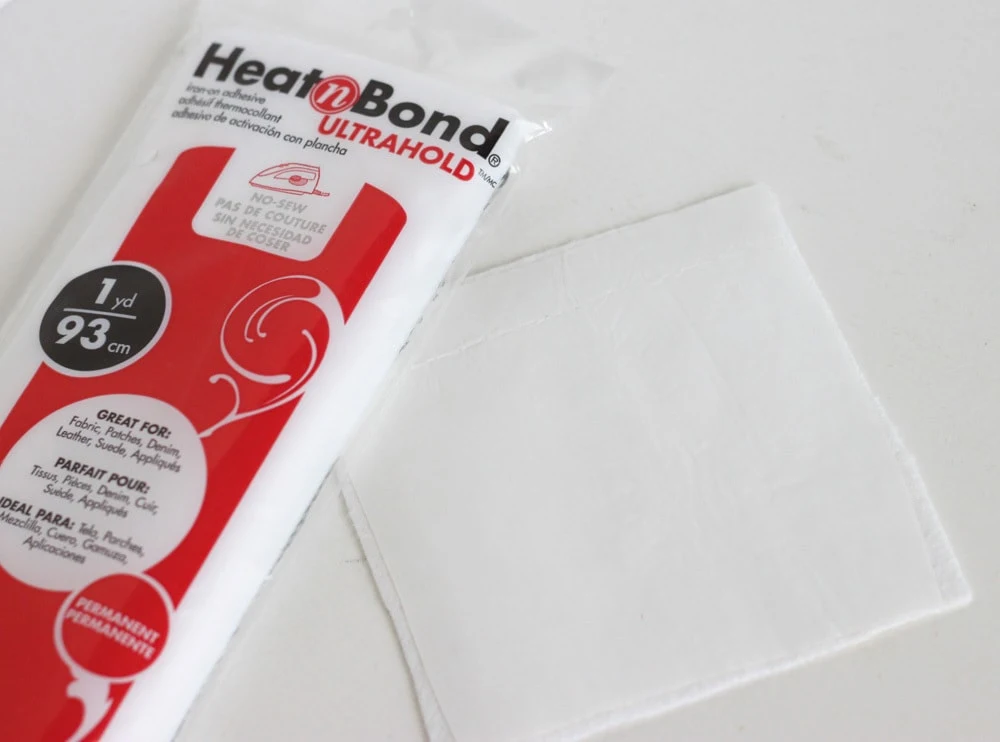
– Heat N Bond Ultrahold
– Evolution die cutting machine from We R Memory Keepers
– Antique Doily Die
– Nesting Circles or Nesting Rings dies
– tweezers
– iron
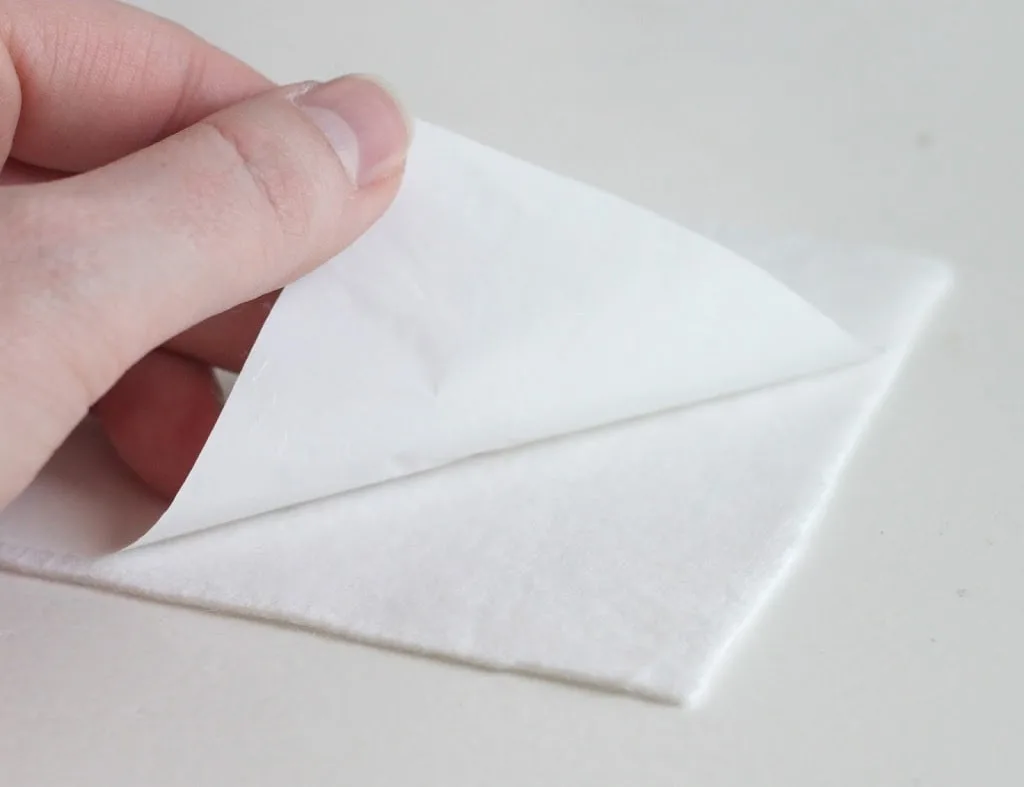
First, cut a piece of felt large enough for the doily die and iron some Heat N Bond Ultrahold to the back. This stuff is great because you don’t have to sew it!
Peel the paper backing off of the Heat N Bond.
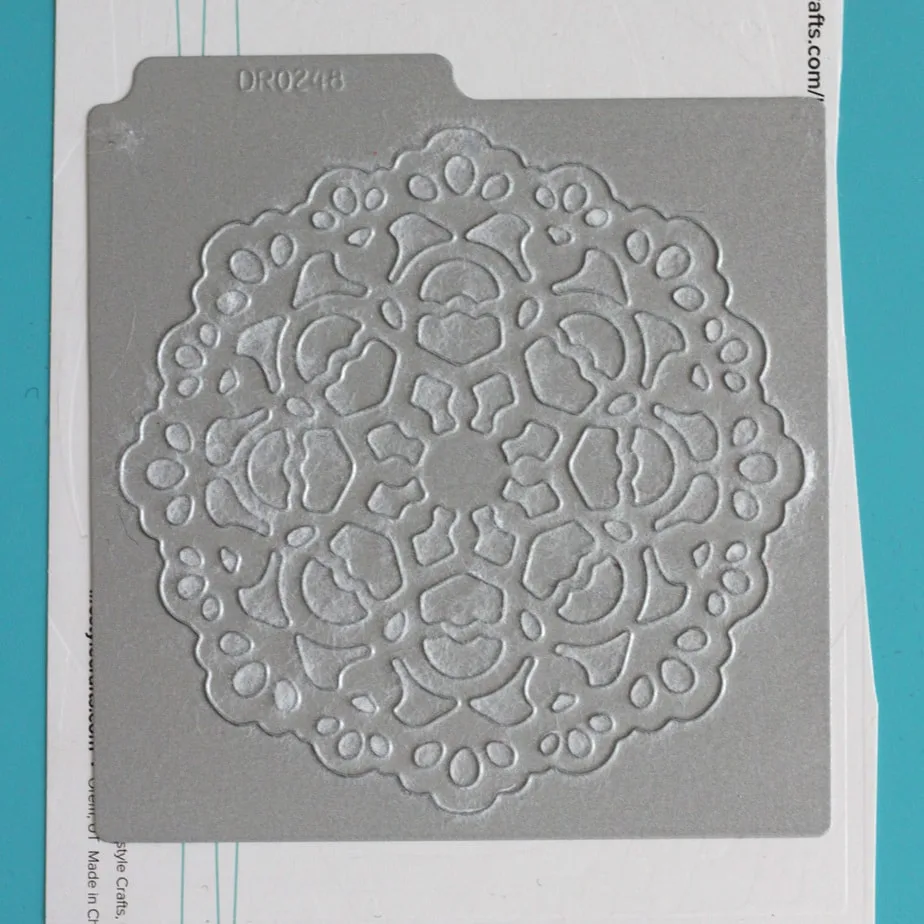
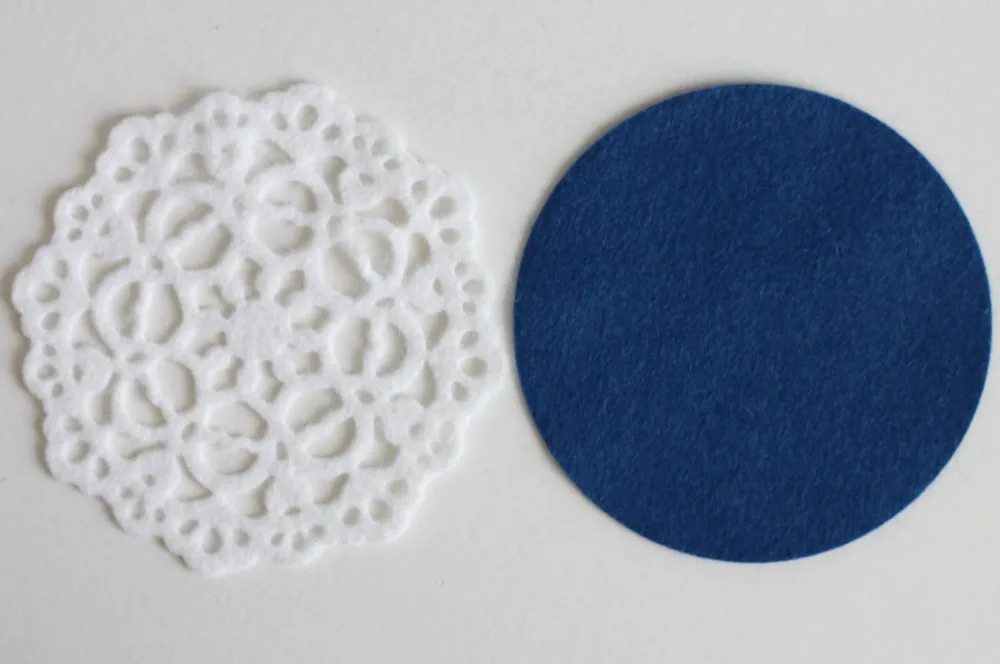
Here is the doily die that I used. It came with white ejection foam in it, but I always peel that out when I’m cutting felt. Put your felt on the die with the Heat N Bond facing up (away from the die). To see more about how to die cut felt, check out my post here.
Side note: I’ve found that when dies are this detailed, you can’t just cut the felt by itself (at least not the blend of felt that I’m using.) You have to stiffen it or iron on interfacing like we just did.
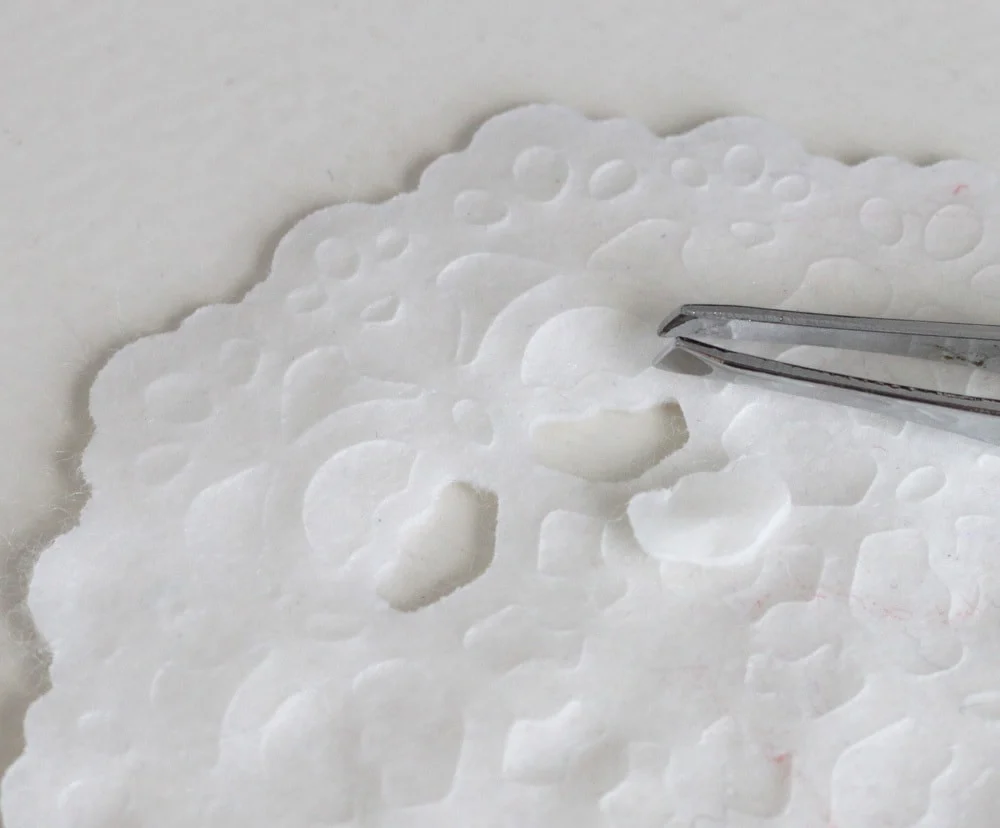
It cuts through, but you will still need to peel out the detail with some tweezers. Just be VERY careful on the thin parts or they will tear. I found that peeling from the side with the Heat N Bond on it works best.
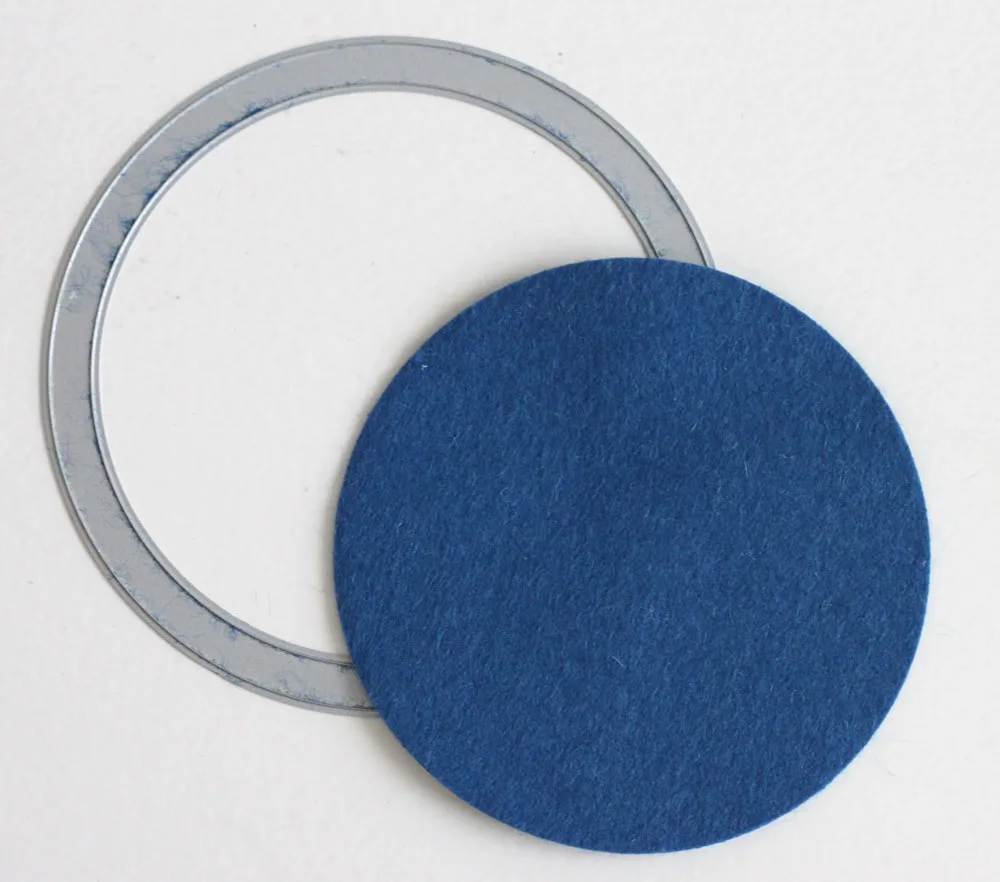
Use your circle or ring die to cut a circle about the same size as your doily. I only have the nesting ring dies, but I think the nesting circles would have been better for this. I wanted the circle to be just a tiny bit larger, but I didn’t have that option with the rings.
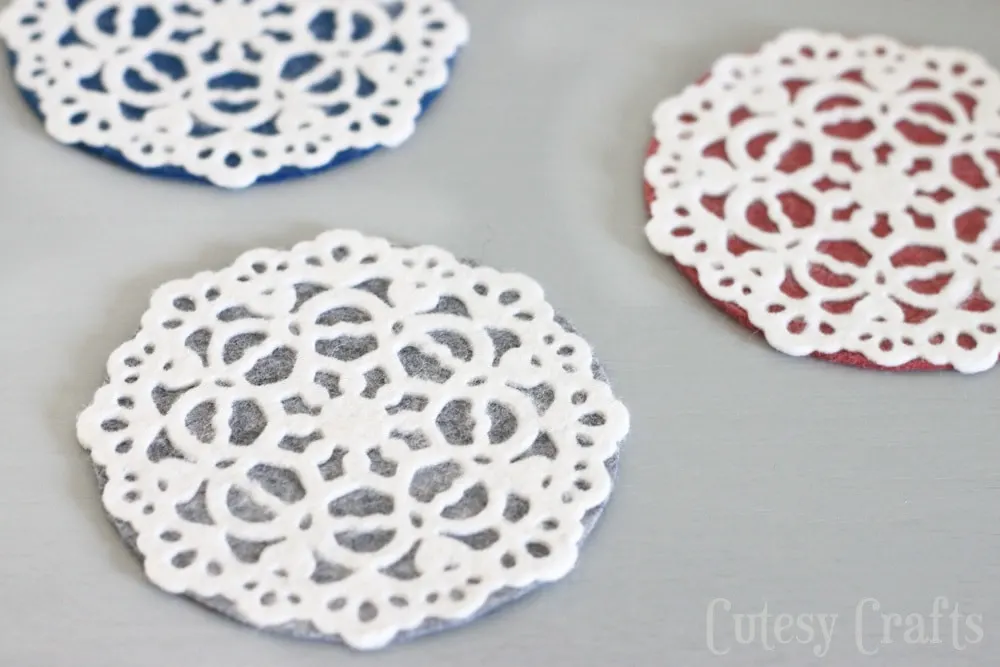
Center the doily on top of your circle with the Heat N Bond down and press a hot iron on it for about 8 seconds.
So easy, right?!
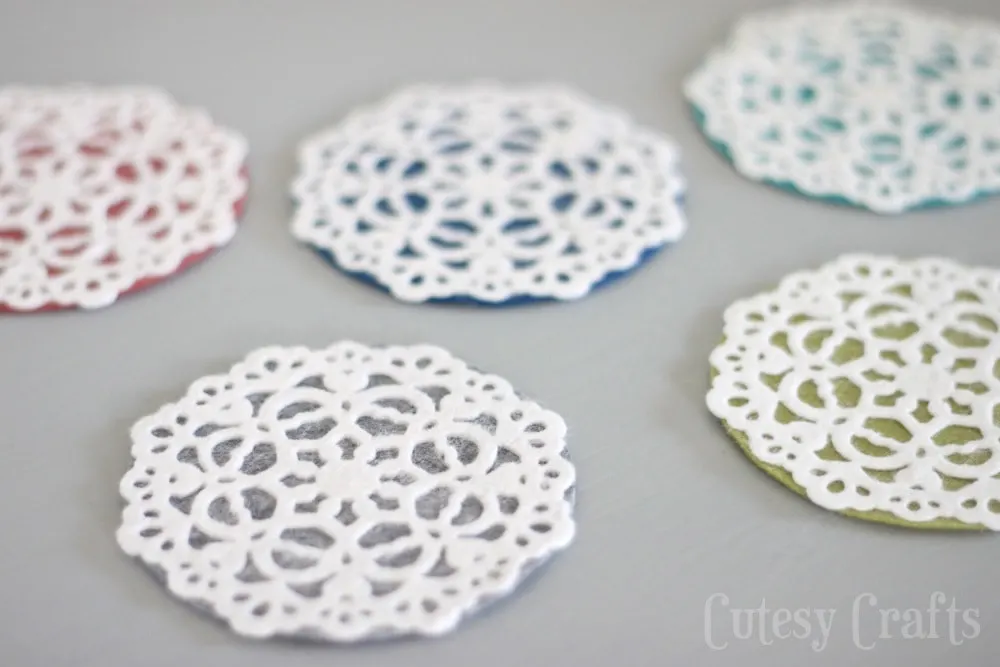
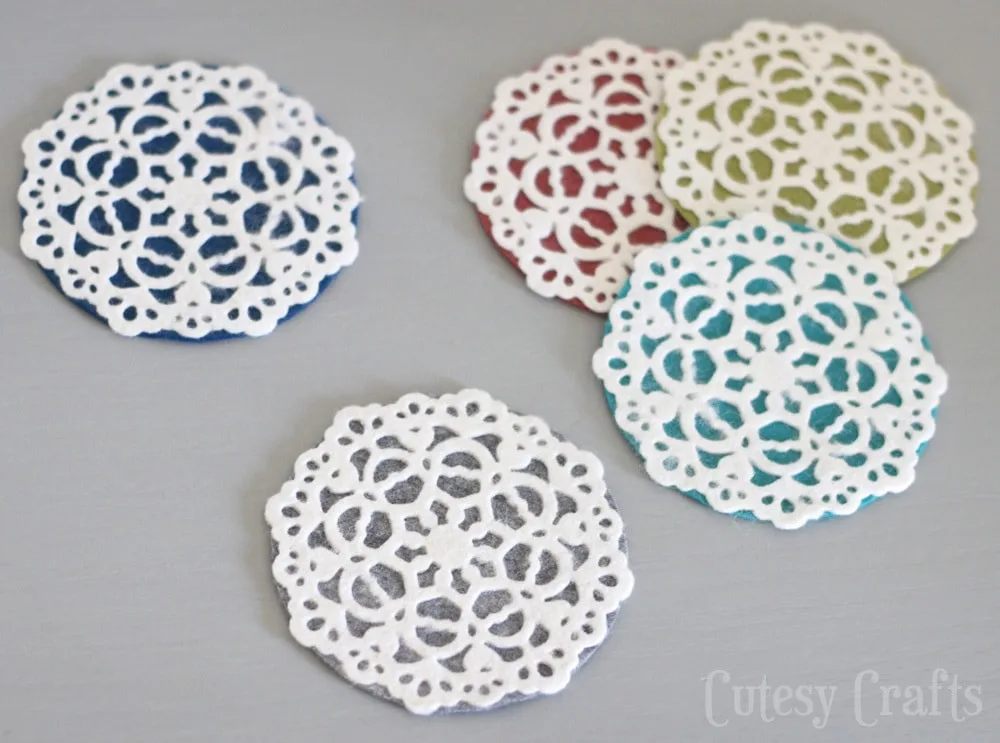
Make them all in one color or lots of different ones. So many possibilities!
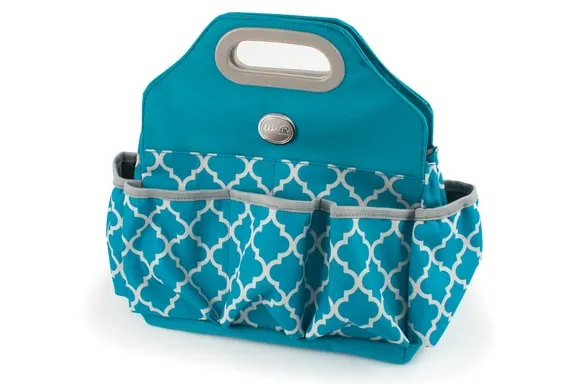
And guess what?! Today is National Scrapbook Day! To celebrate, We R Memory Keepers is giving away this awesome Crafter’s Tote. Go here to enter. A winner will be chosen May 5th, so hurry!
But wait, there’s more! My Lifestyle Studios blogging buddies are all sharing some amazing projects today. Show them some love and go see what they’re up to.


Alpana Deo
Friday 27th of June 2014
Jessica, I came across your blog today morning and seriously, I am just going through one project after another. All are equally attractive and innovative. I just loved this Felt Doily Coasters. Never thought of using them this way!! Great post...
Jessica @ Cutesy Crafts
Saturday 28th of June 2014
Thanks, Alpana! I love anything that looks like lace. :)
Angela
Saturday 3rd of May 2014
These are so adorable! I love everything about them! Thanks for sharing such a cute project!
Jessica Anderson
Tuesday 6th of May 2014
Thank YOU for the nice comment, Angela! :)
Roseanna C
Saturday 3rd of May 2014
Thanks for the inspiration, love the coasters, definitely have to try this.
Jessica Anderson
Tuesday 6th of May 2014
Thanks, Roseanna!
Michele Reynolds
Saturday 3rd of May 2014
Cute! Pinned to my craft board:)
Jessica Anderson
Tuesday 6th of May 2014
Thanks, Michele!