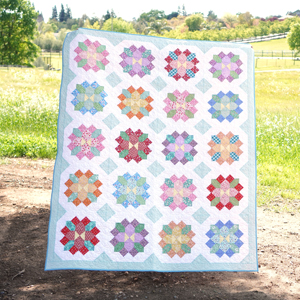

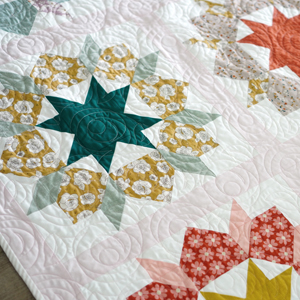
Flower Burst Quilt Pattern
I’m so excited to share another new quilt pattern with you today! I’ve named this one Flower Burst, and it’s supposed to look like abstract flowers. Isn’t it pretty?! Of …
I’m so excited to share another new quilt pattern with you today! I’ve named this one Flower Burst, and it’s supposed to look like abstract flowers. Isn’t it pretty?! Of …

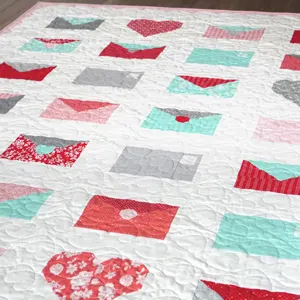
Well, I’ve come full circle on my new quilting hobby, and decided to design my very first quilt! I named this Valentine’s day quilt pattern “Sealed with Love” for obvious …
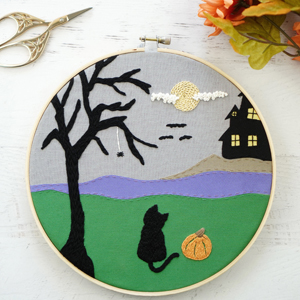

Hello my crafty friends! I finally have a new embroidery pattern to share with you today! I actually designed this Halloween cat embroidery pattern a couple years ago to use …
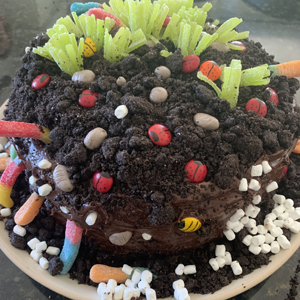

If it isn’t apparent already, I’m not a cake decorator. We make fun cakes in my house, and they aren’t always pretty. A lot of times, my kids help make …

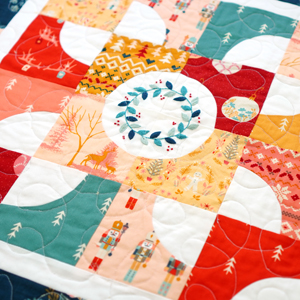
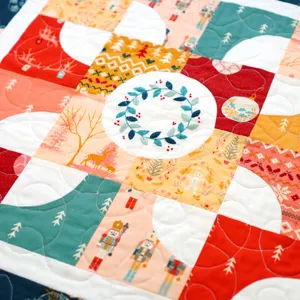
I never thought I would enjoy quilting, but here I am with a few quilts under my belt now. I got a fall fabric bundle from my friend Alli at …
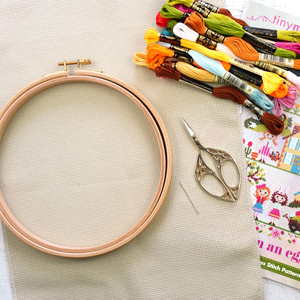

If you’ve always wanted to learn how to cross stitch, but don’t know where to start, this post is for you. Cross stitching is really a very easy craft, and …
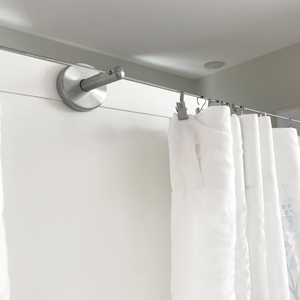
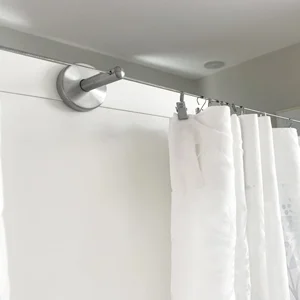
Today I’m showing off something a little different than what I normally post. We’re going to talk about how to divide a room with and IKEA KALLAX shelf. It started …
A few months ago I made my very first real quilt. You can see it on my Instagram here. I never really understood the appeal of quilting, but I think …


Looking for something special to do with the kids on Halloween? I’ve rounded up over 50 Halloween crafts for kindergartners that your little ones are sure to enjoy. Perfect for …
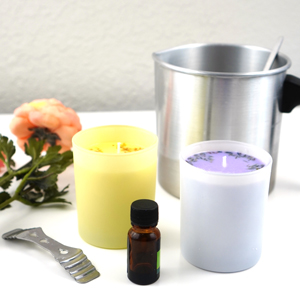

For the past month or so I’ve delved into learning how to make candles at home. Making candles has proven to be a little more challenging than I imagined, but …

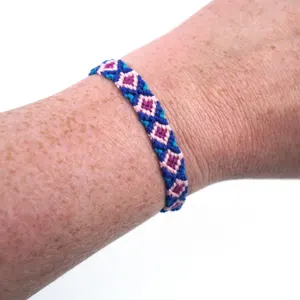
So you’ve mastered the basic candy stripe and chevron bracelets, and you’re looking for more of a challenge. This diamond friendship bracelet uses all 4 basic friendship bracelet knots, and …